Angular Connector
Preview of Final Page
Take a glimpse into your Angular project empowered by the HoppySearch Angular Connector/Plugin. This versatile tool streamlines the integration of search functionality, offering a beautifully designed search page or autocomplete feature for your Angular application in under 5 minutes. Explore the seamless incorporation of a fully developed search interface into your project, enhancing user experience effortlessly.

Integrating HoppySearch Angular Connector/Plugin
Incorporating search functionality into your Angular project can sometimes pose challenges. However, we're thrilled to introduce the HoppySearch Angular Connector/Plugin, which simplifies this process. By integrating this tool, you can effortlessly enhance your project with a beautifully designed search page or autocomplete feature in less than 5 minutes.
This connector provides you with a fully developed search page, ready for seamless integration into your project.
Integration Instructions
Follow these steps to integrate the HoppySearch Angular Connector/Plugin into your Angular project:
-
Run the following command to install the Angular CLI globally:
- cmd
npm install -g @angular/cli -
Create a new Angular application using the following command:
- cmd
ng new hs-searchpage -
Navigate to Your Project Directory
- cmd
cd hs-searchpage -
Install the HoppySearch Angular Connector/Plugin
- cmd
npm install hs-searchpage-angular -
Import the Connector/Plugin
-
Open the src/app/app.module.ts file.
-
Import the HsSearchpageAngularModule as shown below:
- TypeScript
import { HsSearchpageAngularModule } from "hs-searchpage-angular"; -
Add HsSearchpageAngularModule to the imports array:
- TypeScript
@NgModule({
...
imports: [
    ...
    HsSearchpageAngularModule
]
})
-
-
Add Material and Axios
-
Integrate Angular Material into your project with the following command:
- cmd
ng add @angular/material -
Install Axios using npm:
- cmd
npm install axios
-
-
Configure Your Component
-
Open the src/app/app.component.ts file.
-
Add the following properties to your component:
- TypeScript
props = {
    indexId: "YOUR INDEX ID",
    apiKey: "YOUR READ/WRITE API KEY",
    primaryText: "",
    secondaryText: "",
    targetURL: "",
    iconURL: "",
    onTypeSearch: true
}; -
Customize these properties with your specific values. Refer Configuration Details to get idea of props.
-
-
Update the HTML Template
- Open the src/app/app.component.html file.
- Replace the default code with the following:
- HTML
<lib-hs-searchpage-angular hoppySearchConfig="props"></lib-hs-searchpage-angular>
Now, your Angular project is equipped with the HoppySearch Angular Connector/Plugin. You'll have a fully developed search page or autocomplete feature based on your configuration.
Configuration Details
Here's where to find the required information for configuration:
-
Visit the Indices page and select the index where you want to apply the connector.
-
indexId: Retrieve your index ID from your index endpoint. For example, if your index endpoint is (https://unm8df.hoppysearch.com) your index ID is "unm8df."
-
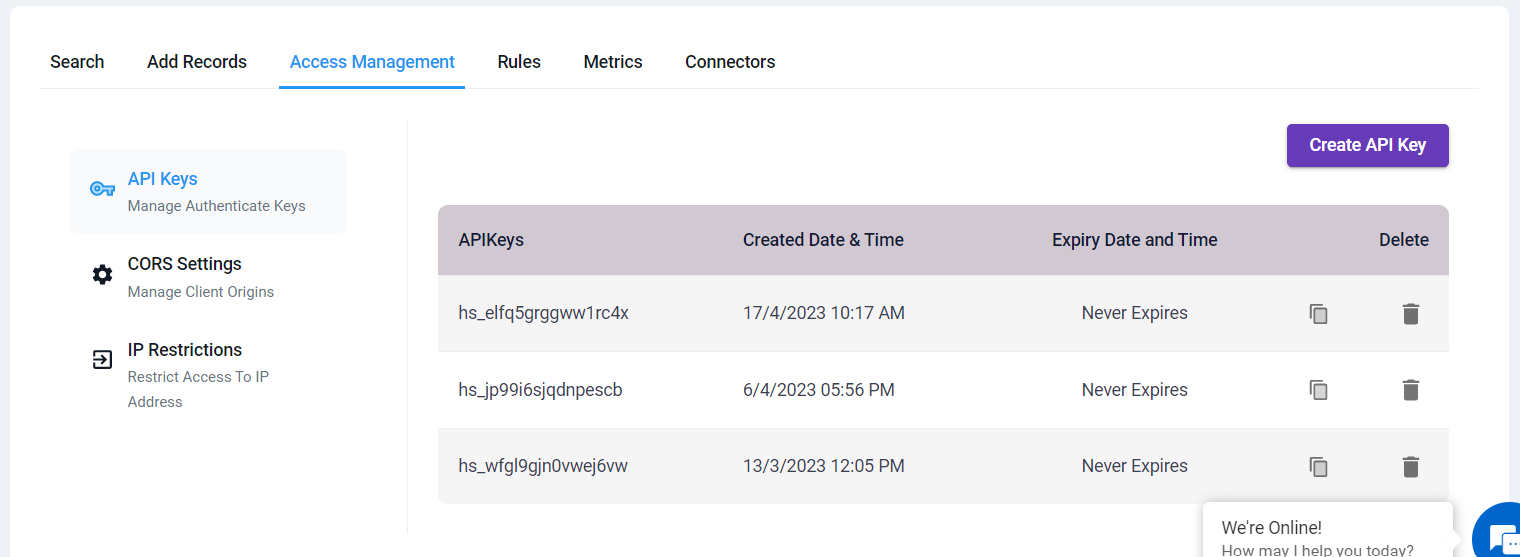
apiKey: In the Access Management -> API Keys section, you'll find the necessary API key (choose an API key with write permission).
-
onTypeSearch: Choose between "true" (automatic search as you type) or "false" (manual search by clicking the search button).
-
primaryText, secondaryText, targetURL, iconURL: Customize these fields according to your dataset.

You can modify these configurations to suit your dataset and project requirements.
For a visual step-by-step guide on integrating the HoppySearch Angular Connector/Plugin into your Angular project, watch this YouTube video.