CORS Setting
Cross-Origin Resource Sharing, or CORS, is a security feature implemented in web browsers that allows web applications to make requests to a different domain than the one that served the web page. Essentially, it enables a web application running on one domain to access resources from a different domain. CORS is implemented using a set of HTTP headers that a server includes in its response to a client's request. These headers inform the client whether it has permission to access the requested resource, as well as which HTTP methods and headers are allowed.
The implementation of CORS is crucial for web security, as it prevents unauthorized access to data from other domains, ensuring that malicious websites cannot access or manipulate data from other domains without permission.
In order to use the HoppySearch API in your domain, it is necessary to add your domain to the CORS policy. This feature has been added to restrict the usage of the API to specific domains, ensuring a more secure and controlled environment for API usage.
View CORS List
To view the CORS list for a specific index in HoppySearch, you can follow these easy steps:
- Firstly, go to the HoppySearch indices page.
- Select the particular index for which you want to see the CORS list.
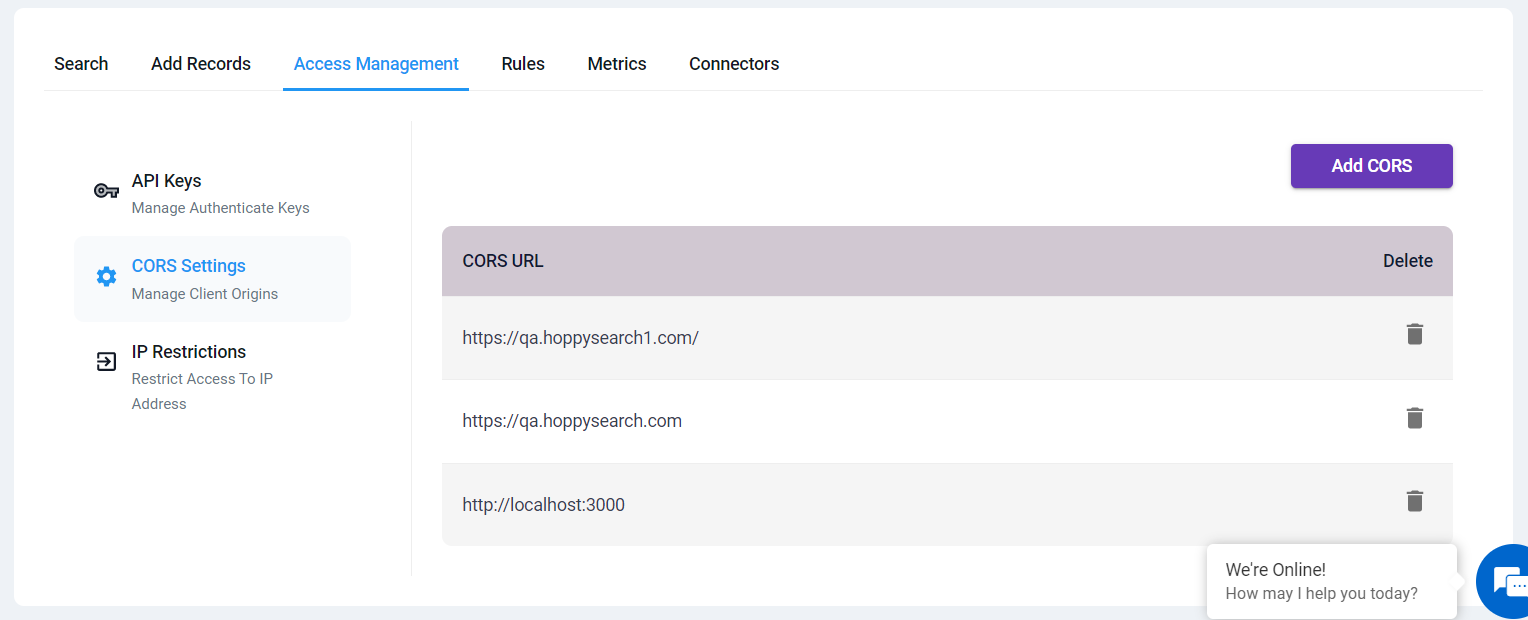
- Then, go to the "Access Management" tab for that index.
- Within the "Access Management" tab, navigate to the "CORS Settings" section.
Once you have reached the "CORS Settings" section, you will be presented with a clear and organized table that displays all the CORS settings for the selected index. This allows you to quickly and easily view and manage the domains that are authorized to access the HoppySearch API for that index.
Adding a Domain to the CORS List
Enabling CORS for a specific domain allows that domain to access resources from HoppySearch. To add a domain to the CORS list, follow these steps:
- Navigate to the HoppySearch indices page.
- Select the specific index for which you want to add a domain to the CORS list.
- Go to the "Access Management" tab for the selected index.
- Under "Access Management," click on the "CORS Settings" tab.
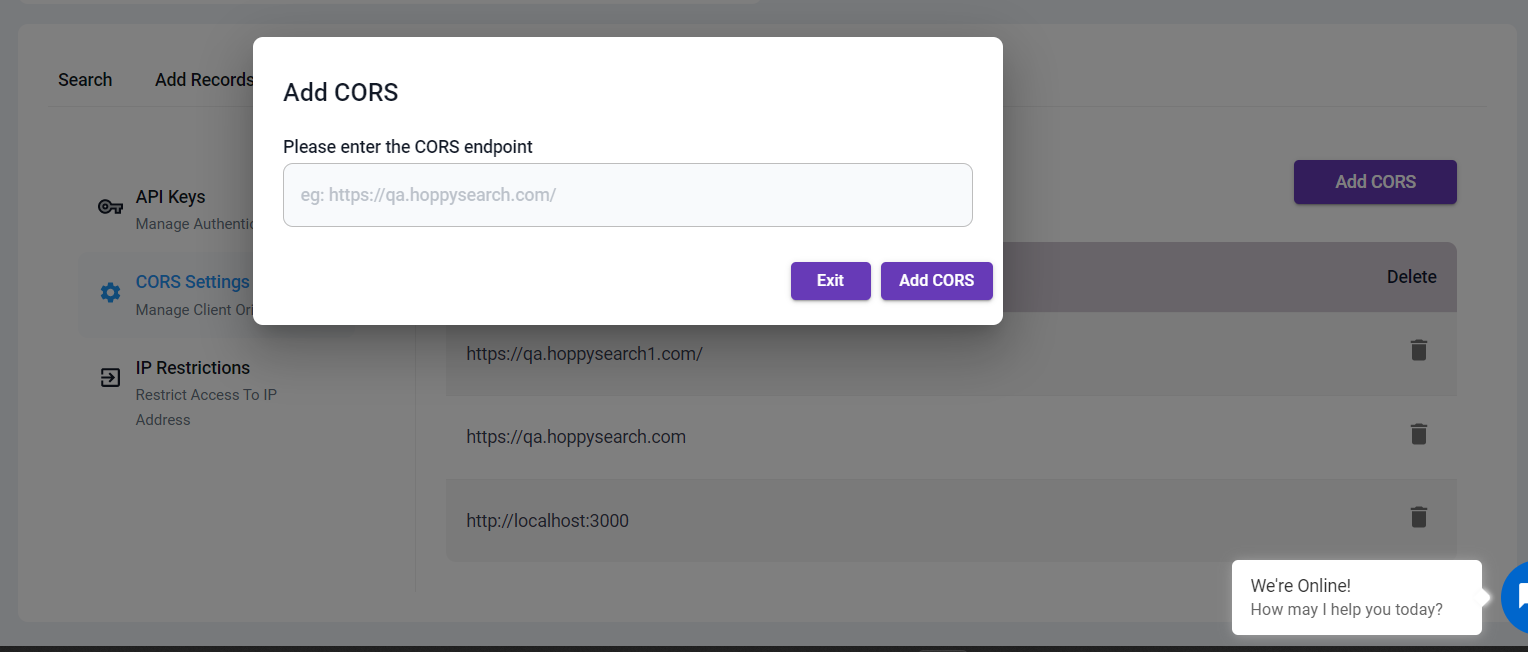
- Click the "Add CORS" button.
- Enter the domain you want to add and click "Add CORS" to complete the process.
Delete a Domain from the CORS List
Removing a domain from the CORS list can be done easily by following these steps:
- Access the HoppySearch indices page.
- Select the specific index for which you want to manage the CORS list.
- Go to the "Access Management" tab for the selected index.
- Click on the "CORS Settings" tab.
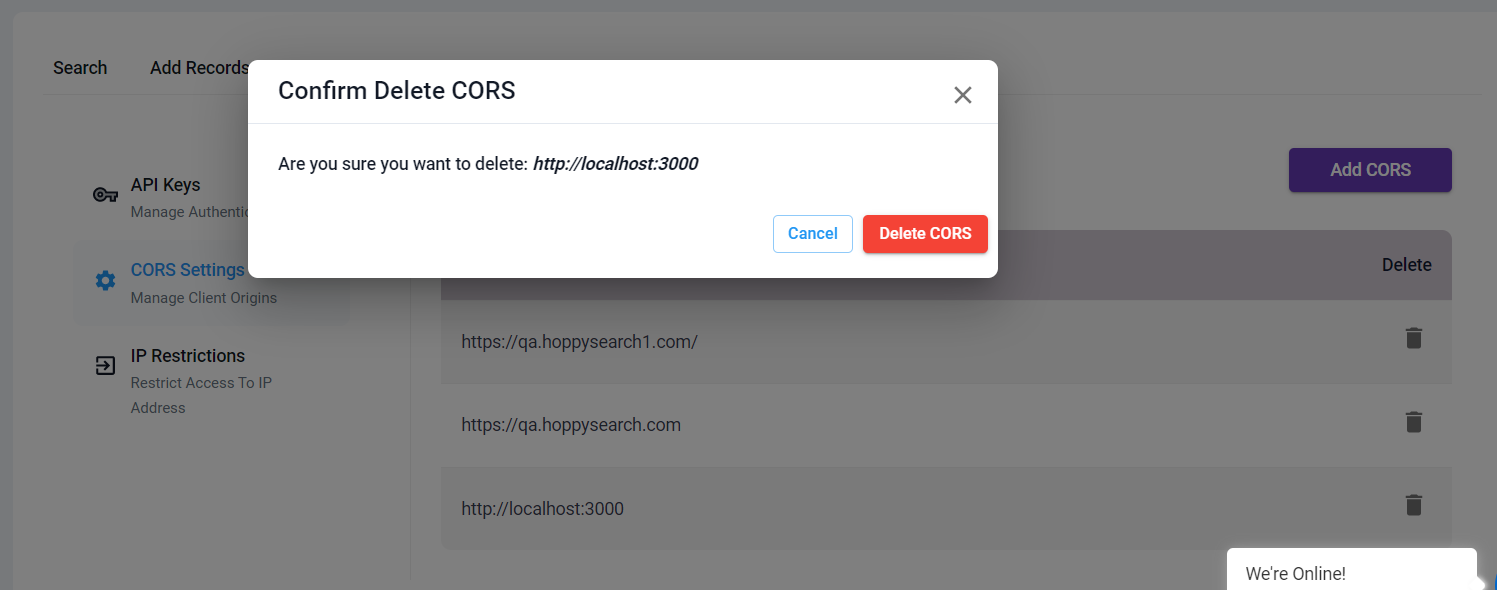
- Locate the domain that you want to remove from the list and click on the "Delete" button located on the same row as the domain name.
- Confirm the deletion request by clicking on the "Delete CORS" button.
Once the confirmation is done, the domain will be removed from the CORS list and will no longer have access to the API.